7 Tips for Choosing PVC Cladding Exterior?
Choosing Pvc Cladding Exterior should involve more than comparing colours and prices. The right system must manage rain, sunlight, ventilation, impact, and long-term maintenance. It should also suit the building’s structure and local climate.
Building-envelope consultant Mark Harrington explains, “Good cladding is not decoration alone; it is a controlled response to weather, movement, and maintenance.” His observation is useful because installation quality often matters as much as the panel itself. A beautiful surface can still fail when moisture becomes trapped behind it.
This guide presents seven practical tips for making a more informed choice. It examines material thickness, UV stability, fire performance, fixing systems, drainage gaps, insulation compatibility, and cleaning requirements. Small details matter. Look closely at corner trims, joint design, and the manufacturer’s installation instructions. These areas often reveal whether a system is genuinely dependable.
Do not trust every impressive product claim. Some specifications sound stronger than they perform on a busy exterior. Ask for test evidence, warranty conditions, and project references. Check how the panels behave around windows, doors, and exposed corners. A sample board may look perfect under showroom lighting, yet appear different after years of weathering.
There is no universally perfect Pvc Cladding Exterior solution. That is worth admitting. A low-cost option may reduce initial spending, but replacement work can become expensive. Careful comparison remains essential. The following tips will help property owners, designers, and contractors identify a practical, durable, and visually suitable cladding system.
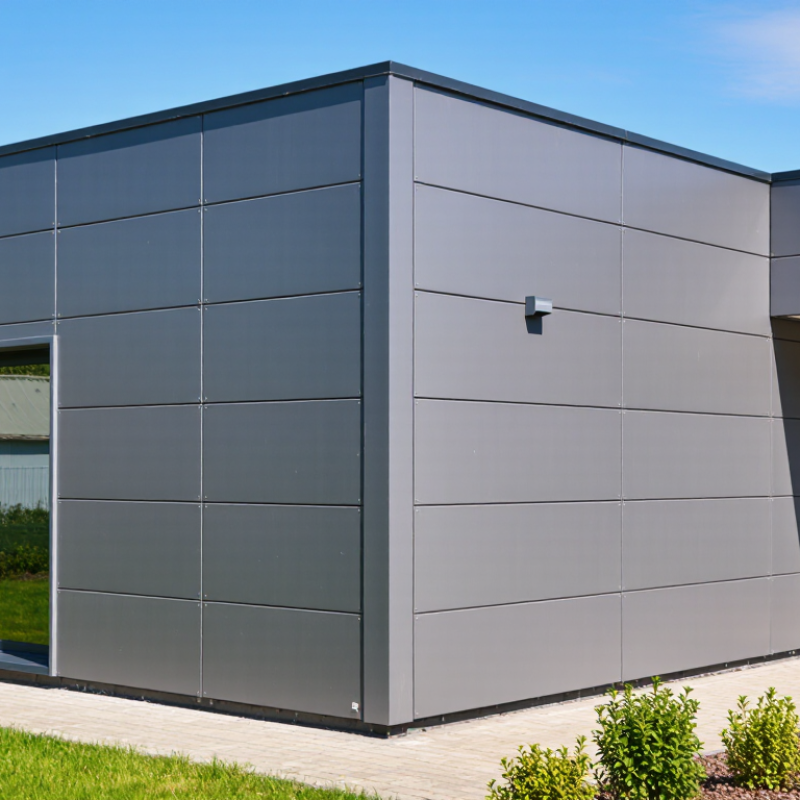
What PVC Exterior Cladding Is and Where It Works Best
7 Tips for Choosing PVC Cladding Exterior
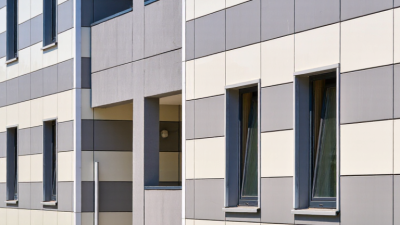
PVC exterior cladding is a lightweight protective layer fixed over an outside wall. It helps shed rain, reduce maintenance, and refresh an aging facade. PVC is not a structural wall. The existing wall still needs adequate strength, drainage, and insulation.
Choose a profile that suits the building’s exposure. Hollow boards can work well on sheltered extensions and garden buildings. Solid or reinforced systems may suit taller walls and areas facing strong wind. Check the fixing method, ventilation gap, UV resistance, and expected expansion. PVC moves with temperature changes. Small detailing errors can create visible bowing later.
A common site mistake is fixing boards too tightly. Leave movement space as the installation guide requires, especially around windows and corners. Use compatible trims and corrosion-resistant fixings. Measure the wall carefully; uneven masonry may need battens before cladding is installed. On coastal homes, salt, wind, and driving rain deserve extra attention.
PVC cladding often works best on detached houses, rear additions, garages, and low-rise commercial buildings. It may be less suitable where strict fire performance, conservation controls, or high-impact exposure apply. Always check local building and fire requirements before ordering materials. Color choice matters too. Dark surfaces can become very hot in direct sun, and I have underestimated this effect before. The result was more movement than expected. A sample fixed outdoors for several days can reveal problems that a brochure cannot.
How to Compare Cladding Profiles, Textures, and Color Options
PVC cladding offers many choices, but profile, texture, and color affect performance differently. Grand View Research estimated the global siding market exceeded USD 100 billion in 2022. That scale reflects demand, not automatic quality.
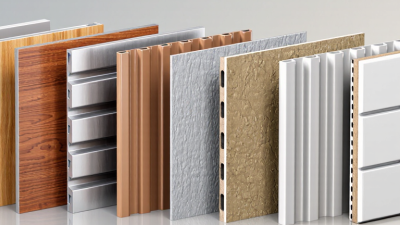
Tip 1: Compare profile depth first. Deeper boards create stronger shadow lines and can hide small wall irregularities. Tip 2: Check panel overlap and ventilation details. Trapped moisture can damage the substrate behind attractive cladding. Tip 3: Request a full-size sample. Small samples often hide texture repetition and visible seams. Tip 4: Inspect texture under direct sunlight. Wood-grain embossing should look varied, not mechanically copied.
Tip 5: Compare color using light reflectance value, or LRV. Darker colors absorb more solar heat and may demand stricter installation controls. The U.S. Department of Energy links solar exposure with increased envelope heat gain, especially on poorly insulated walls. Tip 6: Ask for documented color-retention testing, not only a warranty statement. Test methods and exposure periods matter. Tip 7: Match the finish to maintenance reality. Deep textures may collect dust around windows and under eaves.
A practical mistake is choosing the most realistic texture without checking cleaning access. I have seen beautiful samples look harsh beside pale masonry. ASTM-based testing, technical datasheets, and local installer experience deserve equal attention. The National Association of Home Builders also identifies exterior appearance as a major buyer consideration, but appearance should not replace drainage, fastening, and ventilation checks.
7 Tips for Choosing PVC Cladding Exterior
Compare cladding profiles, textures, and color options by prioritizing weather performance, water management, installation practicality, maintenance, and long-term appearance.
The chart presents a practical 100-point comparison framework. Weather resistance and water management receive the highest weighting because exterior cladding must protect the wall assembly from rain, wind, moisture, and temperature changes. Profile shape, surface texture, and color should then be assessed for drainage, visual style, cleaning needs, and color stability.
How to Measure Your Walls and Estimate Materials Before Buying
7 Tips for Choosing PVC Cladding Exterior
How to Measure Your Walls and Estimate Materials Before Buying
Tip 1: Sketch every wall before measuring. Mark windows, doors, corners, vents, and sloping edges. Measure width and height in meters, then record each result immediately. Small mistakes become expensive later.
Tip 2: Calculate each wall’s area by multiplying width by height. Subtract large openings, but do not remove tiny vents. They create little savings. Tip 3: Measure unusual sections separately. Gable ends and stepped walls often need more material than expected. My first estimate once missed a narrow return beside a doorway.
Tip 4: Check the cladding’s effective coverage, not just panel length. Overlapping edges reduce the usable width. Divide the total wall area by this coverage figure. Tip 5: Add around 10 percent for cutting waste, damaged pieces, and future repairs. Complex walls may need more. Tip 6: Count trims, corner profiles, starter strips, and fasteners separately. These parts are easy to overlook. Tip 7: Measure twice on different days. Rain, poor lighting, or rushed notes can affect accuracy. Use a long level and a reliable tape measure. Before buying, compare your written quantities with the installation guide and ask a qualified installer to review unusual measurements. Allow extra storage space, too. PVC panels can bend when stacked badly.
7 Tips for Choosing PVC Cladding Exterior: How to Measure Your Walls and Estimate Materials Before Buying
Practical measurement worksheet and material estimate based on a sample exterior project
Seven Planning Tips
| Tip |
Planning Focus |
What to Measure or Check |
Example Data |
Buying Guidance |
| 1 |
Measure every wall separately |
Record the width and average height of each wall. Measure large elevations independently instead of relying on an overall perimeter measurement. |
Wall A: 6.00 m wide × 2.50 m high = 15.00 m² |
Use a wall-by-wall worksheet to reduce calculation errors. |
| 2 |
Subtract doors and windows |
Measure the width and height of each opening. Subtract openings only when their dimensions are measured accurately. |
Window: 1.50 m × 1.20 m = 1.80 m²
Door: 0.90 m × 2.10 m = 1.89 m² |
Do not assume all windows or doors have the same size. |
| 3 |
Check panel dimensions and coverage |
Confirm the panel length, visible width, installation overlap, and usable coverage stated in the product documentation. |
Example panel: 2.50 m long × 0.25 m visible width = 0.625 m² per panel |
Calculate with visible coverage, not the full profile width. |
| 4 |
Allow for cutting and fitting waste |
Add a waste allowance for corners, angled cuts, short offcuts, damaged pieces, and installation mistakes. |
Net wall area: 44.87 m²
Recommended allowance: 10%
Adjusted area: 49.36 m² |
Use approximately 5% for simple rectangular walls and 10–15% for complex elevations. |
| 5 |
Plan the installation direction |
Decide whether panels will be installed horizontally or vertically. The direction affects cutting, visual appearance, joint placement, and support layout. |
Horizontal panels generally require vertical support battens; spacing must follow the installation instructions. |
Keep joints away from high-visibility areas where practical. |
| 6 |
Count trims and accessories |
Measure outside corners, inside corners, top edges, bottom edges, window surrounds, door surrounds, and panel joints. |
Example: 20.00 m total wall perimeter; add measured lengths for openings and corners separately. |
Order trims by linear metre and include a small allowance for mitre cuts. |
| 7 |
Verify the wall before ordering |
Check that the substrate is sound, reasonably flat, dry, and free from loose material. Identify pipes, cables, vents, and uneven areas. |
Repair loose masonry and resolve moisture problems before installing cladding. |
Do not use cladding to conceal active leaks or structural movement. |
Sample Wall Measurement Worksheet
| Wall |
Wall Width |
Wall Height |
Gross Wall Area |
Openings to Subtract |
Opening Area |
Net Cladding Area |
| Wall A |
6.00 m |
2.50 m |
15.00 m² |
1 window: 1.50 m × 1.20 m |
1.80 m² |
13.20 m² |
| Wall B |
4.00 m |
2.50 m |
10.00 m² |
1 window: 1.20 m × 1.20 m |
1.44 m² |
8.56 m² |
| Wall C |
6.00 m |
2.50 m |
15.00 m² |
None |
0.00 m² |
15.00 m² |
| Wall D |
4.00 m |
2.50 m |
10.00 m² |
1 door: 0.90 m × 2.10 m |
1.89 m² |
8.11 m² |
| Project Total |
50.00 m² |
3 openings |
5.13 m² |
44.87 m² |
Material Estimate Before Buying
| Material or Calculation |
Formula |
Example Result |
Recommended Order Quantity |
| Net cladding area |
Gross wall area − total opening area |
50.00 − 5.13 = 44.87 m² |
Use as the starting area for the estimate |
| Waste allowance |
Net area × 10% |
44.87 × 0.10 = 4.49 m² |
Allow approximately 4.49 m² |
| Adjusted cladding area |
Net area + waste allowance |
44.87 + 4.49 = 49.36 m² |
Round up to the next complete pack or panel |
| Example panel coverage |
Panel length × visible width |
2.50 m × 0.25 m = 0.625 m² per panel |
Confirm actual visible coverage before ordering |
| Estimated panels |
Adjusted area ÷ coverage per panel |
49.36 ÷ 0.625 = 78.98 |
80 panels, rounded up |
| Panel packs |
Total panels ÷ panels per pack |
If one pack contains 10 panels: 80 ÷ 10 = 8 packs |
8 packs, subject to the actual pack size |
| Starter, top, corner, and opening trims |
Measure each required edge and opening individually |
Based on actual wall perimeter, corners, doors, and windows |
Add approximately 5% for cutting, then round up to full lengths |
| Fasteners and accessories |
Follow the fixing pattern and substrate requirements |
Quantity depends on support spacing, panel length, and wall condition |
Use the installation instructions and add a small reserve |
Important: The panel dimensions, visible coverage, support spacing, fixing method, ventilation requirements, and trim profiles vary by PVC cladding system. Confirm these details in the current installation instructions before placing an order. Measurements should be taken in metres and rounded up only after all deductions and waste allowances have been calculated.